Injection molding is a process that is highly embraced by different tooling manufacturers to create amazing products. This process involves the use of an injection molding machine with different parts that work together to create the perfect results. Once the end product is ejected, there needs to be a process where the finishing is done to add texture and character. This is done in different ways depending on the material in use and the goal of the manufacturer with the product. With this in mind, having a bit more knowledge about what is involved when it comes to the surface finishes and textures is essential. It will help you determine the kind of finish you prefer for your end products and how you want to go about it.
Source: 3dinsider.com
When working on creating the perfect surface finishes and textures, you need to ensure that you take your time to consider some of the factors involved. These factors will greatly affect the kind of surface finish you use on your products. Some of them include:
Source: Pinterest
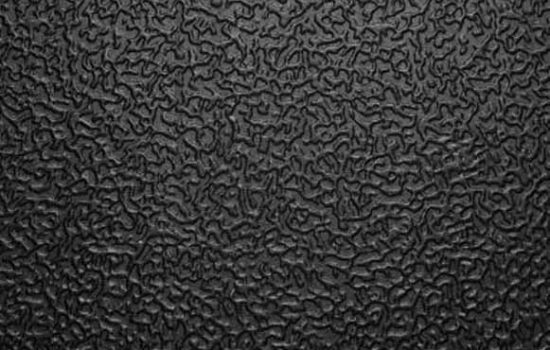
When determining the finish of any product, you need to keep the texture in mind to ensure that you get it right. Medical tools require a high level of tactile sensitivity. A part of that is the grip, but even something as simple as how the tool feels is significant. This is especially true when it comes to the medical industry. As the doctors work, they need effective grip and also to have a certain feel in their hands that will help them get their work done effectively. The tools being used need to feel good on the hands and also be very comfortable.
Source: www.plastics.gl
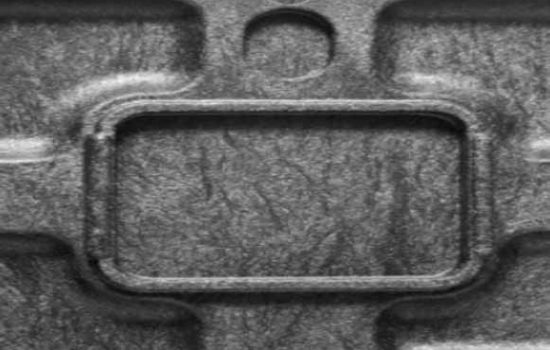
Depending on the mold you use, you’ll need to consider different finishes for the surface. This is mainly because mold material plays a big role in how your plastic mold turns out. For instance when working with a silicone mold, you’ll need to consider a few crucial aspects. Silicone requires a mirror finish to work properly, as sometimes the finished piece cannot be touched and residue and oil from handling the machines may cause issues. Considering the mold material will give you a better chance at choosing the right finish to work with.
Source: qualityinspection.org
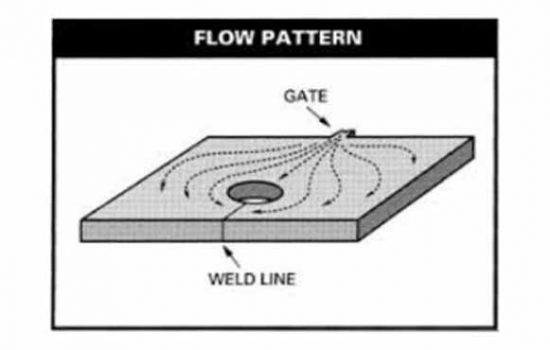
The molten material must be able to get into the cavity as it is injected into the mold. Different surface finishes may alter how the material flows, potentially preventing it from filling and leading to inadequate filling pressures or premature material freezing. To avoid this, you can make use of simulation software that will help inform you of the progress of your molding process. You’ll get to see whether the material you’re using is effective and if the flow is at its best. The material’s flow into the mold will be analyzed using highly precise simulation routines. These will help in the early detection of issues such as insufficient filling, weld lines, and cooling efficiency, giving you greater trust that the design is ready for programming.

Source: www.kaysun.com
When it comes to plastic finishes, there are a few options for you to consider. These options will give you variety in the application and also the outcome of the products you are working on. Some of the different ways to achieve plastic finishes and textures include:
Source: www.starrapid.com
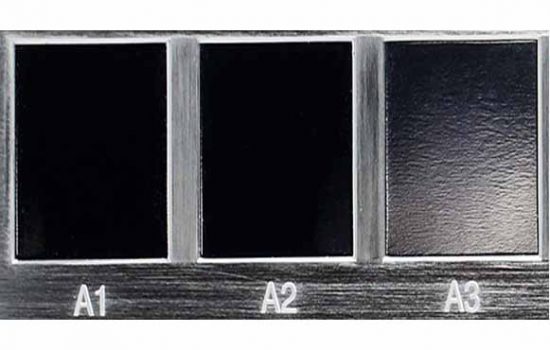
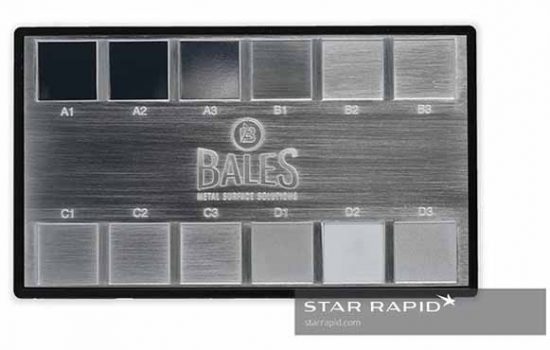
The first category when it comes to plastic finishes is the one that involves polishing the surface. It is referred to as category A and features diamond buffing that is considered to be the highest standard grade. It is designed to make the surface the shiniest and glossy compared to other finishing processes. This is made possible by the fact that the diamond buffing paste features a fine grain that translates well on the surfaces. Additionally, the skill and technique used to apply the pest onto the surfaces play a big role. A rotary tool is usually used to polish the surface in a specific way.
The polishing has to be done in a random and non-linear pattern to ensure it turns out right. Doing this ensures that there is no visible direction to the heaviness on the surface no matter the viewing angle or light used. This is made possible since the surface tends to scatter and reflect light without indicating a clear pattern. When it comes to this type of finishing, you’ll be working with 3 levels. These levels are used to represent the different degrees of polish you can expect with each. This includes A1, A2, A3 respectively.
Source: Wikipedia
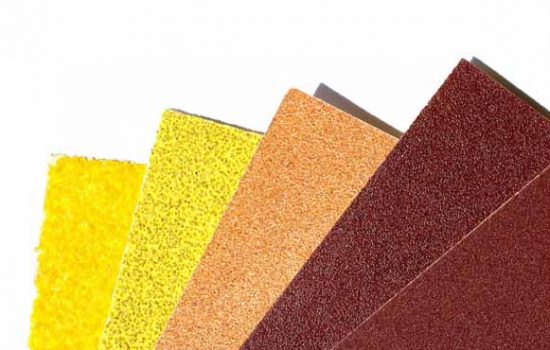
The second category involves the use of sandpaper on your desired surface to achieve the perfect finish. This is referred to as category B and involves the use of sandpaper on your surface moving in a back and forth motion. With this application, you find that the end results feature a very visible pattern. This pattern is usually linear scratches and lines moving in the direction you choose to apply them. To get a neat look consider going in one direction back and forth and sticking to that. This will help you avoid having to deal with a surface that doesn’t meet your aesthetic needs.
When it comes to working with a B-grade finish, it will be said to be a semi-gloss finish. This method is quite good given that it is cheaper to produce compared to the A grade. Additionally, it works well to hide any blemishes and imperfections that may be on the surface you’ll be working on. This grade consists of 3 different levels and comes with different levels of sanding grit. B1 uses a 600 grit, B2 a 400 grit, and B3 a 320 grit.
Source: www.plastopialtd.com
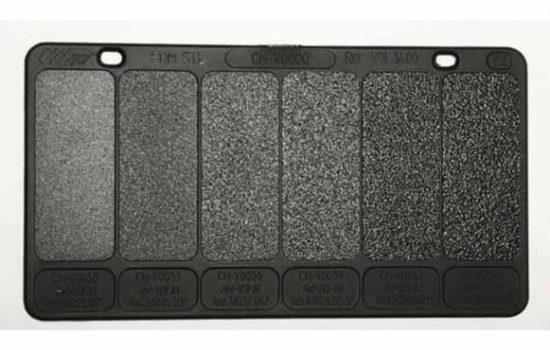
The gritstone works closely to achieve the same results as the sandpaper. The only difference comes in because the gritstone is a bit rougher and tough when it comes to application. This results in a tougher texture and the surface won’t be as flat compared to the other processes. With this in mind, you find that this method is mainly used to quickly erase any errors and molding issues found on the surface you are working with.
The use of the gritstone to create different finishes comes in category C. With this you also have to keep the same principles in mind. Going in one back and forth direction will result in a better look. Category C also features 3 different levels that result in a surface with a matte finish after the application.
Source: www.starrapid.com
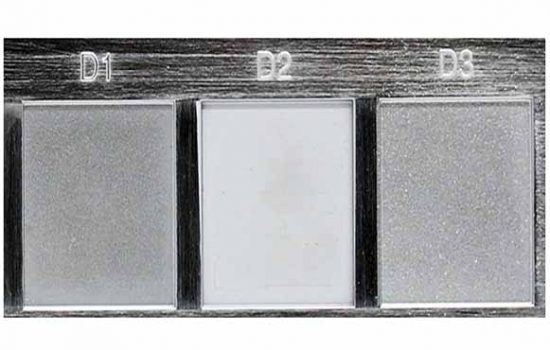
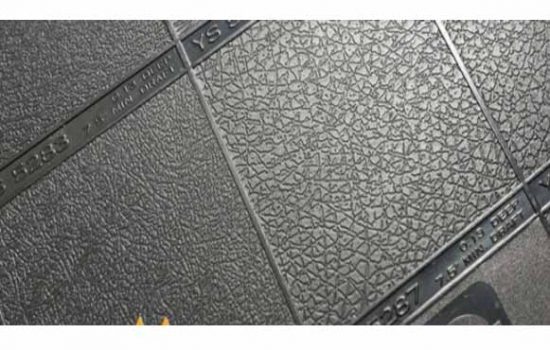
Blasting is in the D category corresponding to the SPI requirements. It involves the use of sand or glass beads to achieve a well-designed surface. This involves abrasive blasting that results in rough surface finishes. This is a great finish idea given that it is done using a tool that boasts the beads randomly. This random motion allows for a seamless translation on the surface without any directional indications of any kind. With this process, you find that it is used to produce dull or flat finishes.
Source: upmold.com
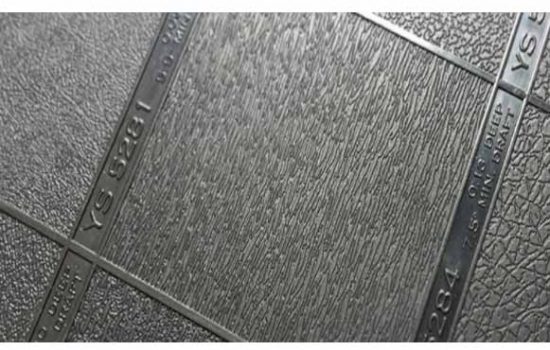
When it comes to the EDM process, you’ll find the use of some of the processes discussed earlier. This process uses an electric discharge machining (EDM) or Spark erosion in achieving different surface finishes. The finishes made with this method are measured according to PIA standards. The finish translations are closely linked to some of those found in the categories from A to D. This means with this method, you can achieve a combination of finishes that will go a long way to ensuring a variety of surface finish options.
Source: studiored.com
When it comes to the surface finishes, they need to be of the standards expressed by the society of the plastic industry(SPI). These standards feature 12 grades that are divided into three categories which include:
This category features high gloss finishes on hardened steel molds. They are buffed to a mirror luster with the fine diamond buffing powder. This results in super smooth and shiny. This shiny finish features grades A1, A2, and A3.
This finish employs the use of SPI grades from B1, B2, and B3 and features some sheen with ultra-fine feet sandpaper. The best thing is that with this, no blemishes from the mold or machining are visible.
From SPI grades C1, C2, and C3 you’ll find the matte finish polished with fine stone powders. With this, any blemishes are also well concealed and not readily apparent.
Source: www.starrapid.com
There are different materials used when it comes to injection molding. As discussed earlier, the material used will greatly affect the finish choice you’ll be working with. Some of the materials to consider include:
The ABS material is a good selection given that it works well with all the grades involved in DPI finishes. From A1 to D3, you can easily use this material and get quality results. However, you should note that this material performs best when working with the C and D categories.
The Polypropylene material features an excellent rating when it comes to working with grades from B3 to D3. With A2 to B2 the material ranks at an average while it is highly not recommended for the finish in A1.
The polystyrene material is a great option that goes all around from grades A1 to D3 and can easily be implemented with ease. The different finishing options will work well when it comes to this particular material.
There are different injection molding surface finishes and textures to consider when working on your products. Consult with qualified tooling manufacturers to get the best deals. When you have this in order, you’ll be in a better position to have products that are of high quality with amazing finishes. Figure out the material you are working with and consider which finish would work best for you.
+86-755-8524 1121
marketing@rydtooling.com
No. 2, HongKan 1st Road, YanChuan Community, YanLuo Street, BaoAn District, ShenZhen City, China. Post Code 518105.
Subscribe to our newsletter to get manufacturing news and updates!
