
Insert Molding Process Step by Step
It is dangerous to make use of components after they’ve been manufactured without encasing them with plastic. It’s essential to encase these components to make

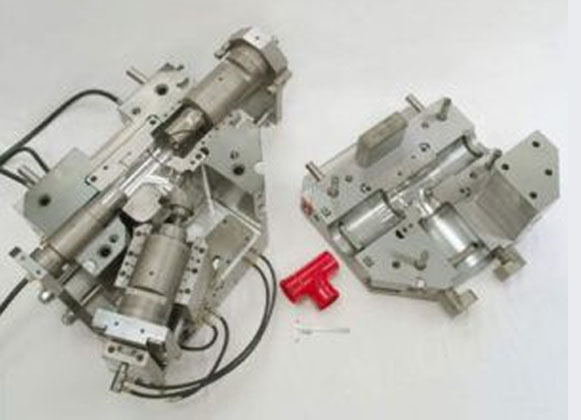
It is dangerous to make use of components after they’ve been manufactured without encasing them with plastic. It’s essential to encase these components to make

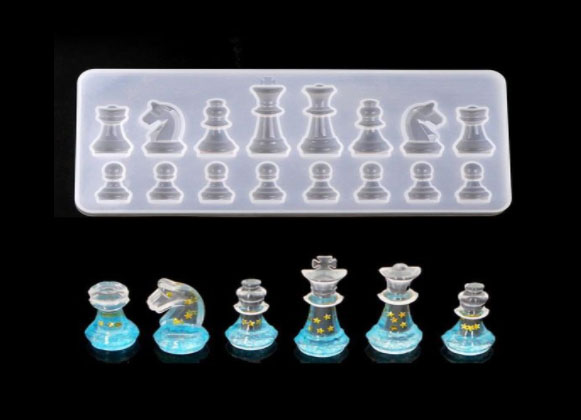
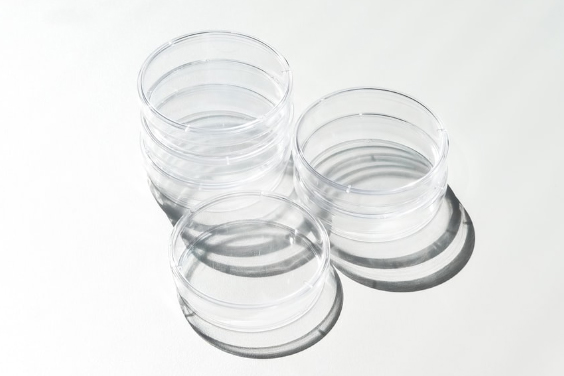
Transparent plastic is being used in virtually every industry and this is because of its capacity to allow you see through and its ease of
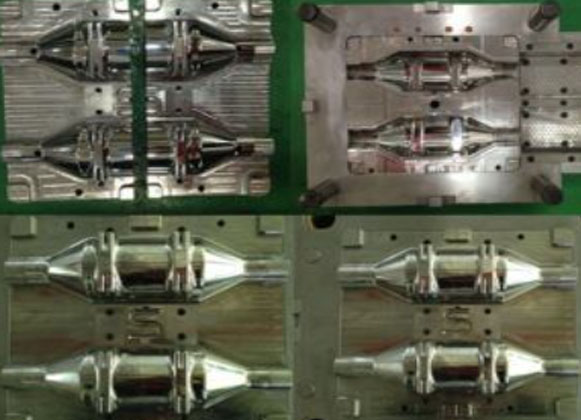
Plastic is a common material used in the production of objects that can be used in homes, the automobile industry, and virtually all sectors. It

Basically, there are two kinds of plastics – thermoplastic, and thermosets. But the majorly talked about kind is the thermoplastic because of its versatile and